
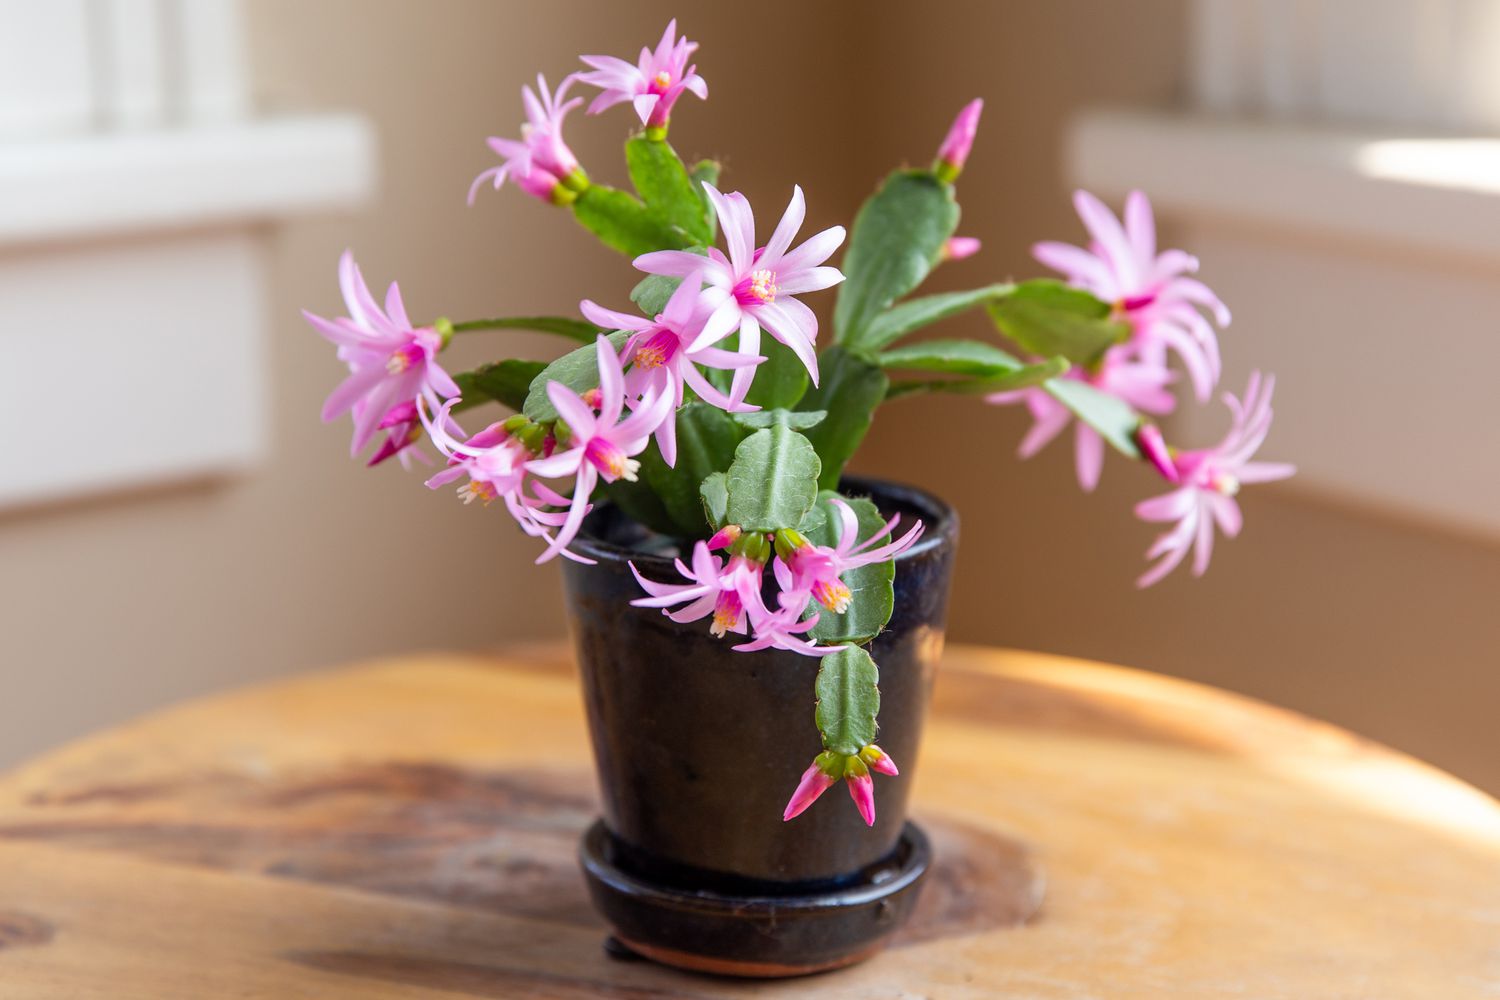
The Easter cactus brings a burst of vibrant color to homes just as spring arrives. With its flattened, succulent stems and star-shaped flowers in shades of pink, red, and white, this eye-catching houseplant makes a stunning addition to any indoor garden. Despite its name, the Easter cactus isn’t a true cactus at all – it’s an epiphyte native to the rainforests of Brazil.
| Scientific Name | Hatiora gaertneri |
| Common Name | Easter Cactus |
| Plant Family | Cactaceae |
| Plant Type | Epiphytic succulent |
| Growth Habit | Trailing, pendulous |
| Hardiness Zones | 10-12 |
| Soil Type & pH | Well-draining, slightly acidic (pH 5.5-6.5) |
| Sunlight | Bright, indirect light |
| Toxicity | Non-toxic to humans and pets |
| Mature Size | 12-24 inches tall and wide |
| Bloom Time | Spring (March to May) |
Caring for Easter Cactus
The Easter cactus thrives with bright, indirect light and consistent moisture. Keep the soil lightly moist but never soggy, and provide temperatures between 60-70°F. Feed monthly during the growing season with a balanced, water-soluble fertilizer. Increase humidity by misting or using a pebble tray. Allow a 6-8 week rest period with cooler temperatures and reduced watering in fall to encourage spring blooming.
Light Conditions
Easter cacti prefer bright, indirect light. Place them near an east or west-facing window where they’ll receive plenty of light without being exposed to harsh, direct sun. Too much direct sunlight can scorch the leaves, while insufficient light leads to leggy growth and reduced flowering. If you notice the stems turning a reddish color, it’s a sign the plant is receiving too much light.
Temperature & Humidity
These plants thrive in average room temperatures between 60-70°F. They can tolerate slightly cooler temperatures at night, which actually helps stimulate bud formation. Avoid exposing Easter cacti to drafts or sudden temperature fluctuations, as this can cause bud drop.
Easter cacti appreciate higher humidity levels than many houseplants. Aim for 50-60% humidity if possible. You can increase humidity by misting the plant regularly, placing it on a pebble tray filled with water, or using a small humidifier nearby. Grouping plants together also helps create a more humid microclimate.
Watering Needs
Proper watering is crucial for Easter cactus health. Allow the top inch of soil to dry out between waterings, then water thoroughly until it drains from the bottom of the pot. Always empty the saucer to prevent the plant from sitting in water. During the active growing season (spring and summer), water more frequently. Reduce watering in fall and winter when the plant enters its rest period.
Overwatering is a common issue with Easter cacti. Signs of overwatering include yellowing leaves, soft stems, and root rot. If you notice these symptoms, allow the soil to dry out completely before watering again and consider repotting in fresh, well-draining soil.
Soil & Compost
Easter cacti require well-draining soil to prevent root rot. A mix specifically formulated for cacti and succulents works well, or you can create your own by combining equal parts potting soil, perlite, and orchid bark. This mixture provides the drainage and aeration that Easter cacti need while retaining enough moisture to keep the roots happy.
The ideal soil pH for Easter cacti is slightly acidic, between 5.5 and 6.5. If your soil is too alkaline, you can add a small amount of peat moss to increase acidity. Avoid using garden soil or heavy potting mixes, as these retain too much moisture and can lead to root problems.
Fertilizer
Feed your Easter cactus monthly during the active growing season (spring and summer) with a balanced, water-soluble fertilizer diluted to half strength. Choose a fertilizer with equal parts nitrogen, phosphorus, and potassium (such as a 10-10-10 formula) to promote overall health and flowering.
Stop fertilizing in late summer to early fall as the plant enters its rest period. Overfeeding can lead to excessive vegetative growth at the expense of flower production, so it’s better to err on the side of less fertilizer rather than more.
How to Propagate Easter Cactus
Propagating Easter cacti is a straightforward process that allows you to create new plants from your existing one. The most common and successful method is through stem cuttings.
To propagate, select a healthy stem segment with 2-3 leaf joints. Using clean, sharp scissors or pruning shears, cut the segment at the joint. Allow the cutting to dry for a day or two to form a callus over the cut end. This step helps prevent rot when you plant the cutting.
Once the cutting has callused, plant it in a small pot filled with well-draining cactus mix. Insert the cut end about an inch deep into the soil. Water lightly and place the pot in a warm, bright location out of direct sunlight. Keep the soil slightly moist but not wet.
In about 4-6 weeks, the cutting should develop roots. You can gently tug on the stem to check for resistance, which indicates root formation. Once rooted, care for the new plant as you would a mature Easter cactus.
Repotting Easter Cactus
Easter cacti don’t mind being slightly pot-bound, so you only need to repot every 2-3 years or when the plant outgrows its current container. The best time to repot is after flowering, typically in late spring or early summer.
Choose a pot that’s only 1-2 inches larger in diameter than the current one. Ensure the new pot has drainage holes to prevent water from accumulating. Gently remove the plant from its old pot, being careful not to damage the roots. Shake off excess soil and inspect the roots for any signs of rot or damage.
Place a layer of fresh potting mix in the new pot, then position the plant so it’s at the same depth as it was in the old pot. Fill in around the roots with more potting mix, pressing gently to eliminate air pockets. Water thoroughly after repotting, but wait a week before fertilizing to allow the plant to adjust to its new home.
Overwintering
Easter cacti need a period of rest in fall and winter to set buds for spring flowering. During this time, reduce watering and stop fertilizing. Move the plant to a cooler location with temperatures between 50-55°F at night and 60-65°F during the day.
Provide 12-14 hours of complete darkness each night for about 6-8 weeks. You can achieve this by moving the plant to a dark room or covering it with a box. This mimics the natural shortening of days that triggers bud formation in the wild.
After the rest period, gradually increase watering and return the plant to its normal growing conditions. You should see flower buds forming in late winter to early spring.
Pruning Easter Cactus
Pruning isn’t strictly necessary for Easter cacti, but it can help maintain the plant’s shape and encourage bushier growth. The best time to prune is after flowering has finished, typically in late spring or early summer.
Using clean, sharp scissors or pruning shears, cut stem segments at the joints. Remove any dead, damaged, or diseased segments first. Then, shape the plant by trimming back long or straggly stems. Don’t remove more than a third of the plant at one time to avoid stressing it.
You can use the pruned segments for propagation if desired. Always sterilize your pruning tools before and after use to prevent the spread of disease.
Blooming Period

Easter cacti typically bloom in spring, usually from March to May, which is why they’re associated with Easter. However, with proper care and environmental conditions, they can sometimes produce a second flush of blooms in the fall.
The star-shaped flowers come in shades of pink, red, white, and even lavender. Each bloom lasts for several days, and a healthy plant can produce numerous flowers over several weeks. To encourage blooming, ensure your Easter cactus receives the proper light, temperature, and rest period as described earlier.
Common Problems With Easter Cactus
While Easter cacti are generally hardy plants, they can encounter a few issues.
Pests and Diseases
Easter cacti can occasionally fall victim to common houseplant pests like mealybugs, spider mites, and scale insects. These pests often appear as small, cottony masses (mealybugs), tiny moving dots (spider mites), or hard, brown bumps on stems (scale). To treat these pests, isolate the affected plant and treat it with insecticidal soap or neem oil. Regular inspection and good plant hygiene can help prevent pest infestations.
Root Rot
Root rot is the primary disease concern for Easter cacti, typically caused by overwatering or poor drainage. If you suspect root rot, remove the plant from its pot and inspect the roots. Healthy roots should be firm and white, while rotted roots will be brown, soft, and may have an unpleasant odor. If caught early, you can trim away the affected roots and repot in fresh, well-draining soil.
Bud Drop
Bud drop is another common issue, where flower buds fall off before opening. This can be caused by sudden temperature changes, drafts, or inconsistent watering. Maintain stable growing conditions and avoid moving the plant when it’s budding to prevent this problem.
FAQ
While they look similar, Christmas and Easter cacti have distinct differences. Easter cacti (Hatiora gaertneri) have flattened stem segments with rounded edges and bloom in spring. Christmas cacti (Schlumbergera bridgesii) have stem segments with more scalloped or toothed edges and bloom in winter. Easter cacti also have more star-shaped flowers compared to the tubular flowers of Christmas cacti.
The Easter cactus gets its name from its typical blooming period, which coincides with the Easter holiday in spring. Unlike true desert cacti, it’s native to the tropical forests of Brazil and belongs to a group of plants known as holiday cacti, which also includes the Christmas and Thanksgiving cacti.
Easter cacti are primarily grown as indoor plants in most regions. They’re only hardy in USDA zones 10-12, so they can be grown outdoors year-round in these warm climates. In cooler areas, they’re best kept as houseplants, though they can be moved outdoors during warm summer months if protected from direct sunlight and extreme temperatures.
Yes, Easter cacti can produce seeds. After flowering, if pollination occurs, the plant may develop small, berry-like fruits containing tiny seeds. However, propagation from seeds is rarely done by home growers due to the time and effort required. Stem cuttings provide a much quicker and easier method of propagation for most people.